Day 10 of #30DaysWild saw me pressing some flowers and leaves I had gathered both from the garden and out on a walk.
I’ve certainly not done this in a very long time so I turned to Google for some advice, where I found out you could not only press flowers the old fashioned way in-between books, but you could also do it using an iron or a microwave!
Originally I was going to try the book technique, but after reading how long it would take I decided I needed a quicker method and opted for the iron!
One afternoon when Robin was napping I decided to give it a go.
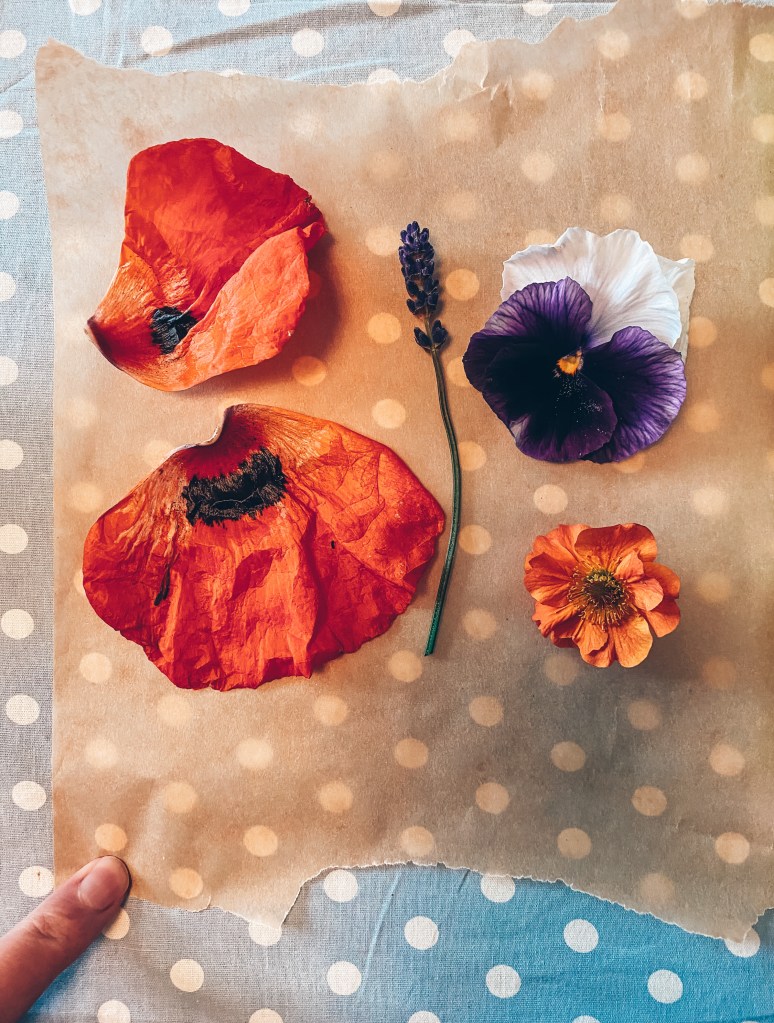
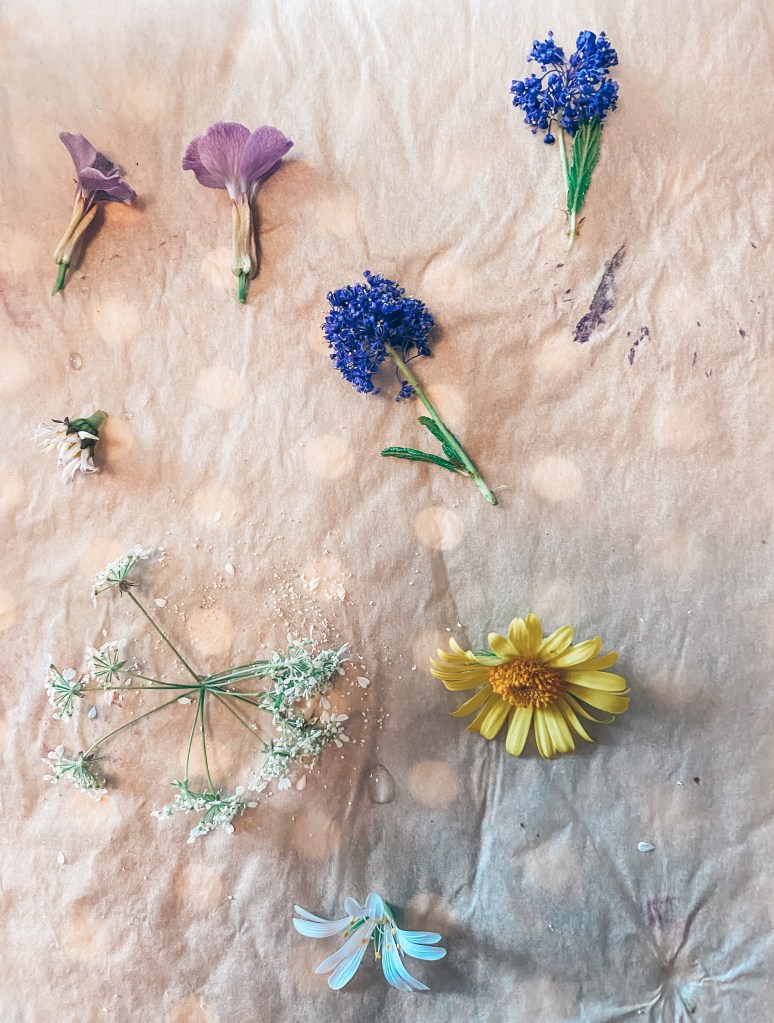
Here are some flowers I gathered from my garden. A couple of Oriental Poppy petals, a Geum flower, a Pansy and a sprig of Lavender.
How to press flowers using an iron
1. Firstly you need to find some flowers, this is your time to experiment. I had a mixture of some flatter flowers and some more 3D structures. I also gathered leaves and grasses to try.
2. Before you start the process you need to find something to place your flowers in-between as you don’t want to put the iron directly on them. I used baking paper but you could use blotting paper. Be careful if you opt for kitchen roll as the pattern can supposedly leave imprints in your flower which you don’t want.
3. Space out your flowers so there is room between them and cover with the baking paper. You should have a sort of baking paper and flower sandwich, with the flowers being the filling! In other words, make sure you have baking paper both under and on top of your flowers 😂
4. Before you start ironing place a heavy book on top of the ‘sandwich’ for a few moments to help flatten the flowers. Whilst you wait you can set up your iron. Now this is the bit that confused me as I read conflicting advice. One source I read said to have your iron at the hottest setting and the other source said have it at a low setting. Personally I think go lower as my first try was very hot and I think it resulted in scorching my pansy.
Make sure you do not have your steam switched on. The purpose of ironing is to get the moisture out of your flowers. So you want a dry heat.
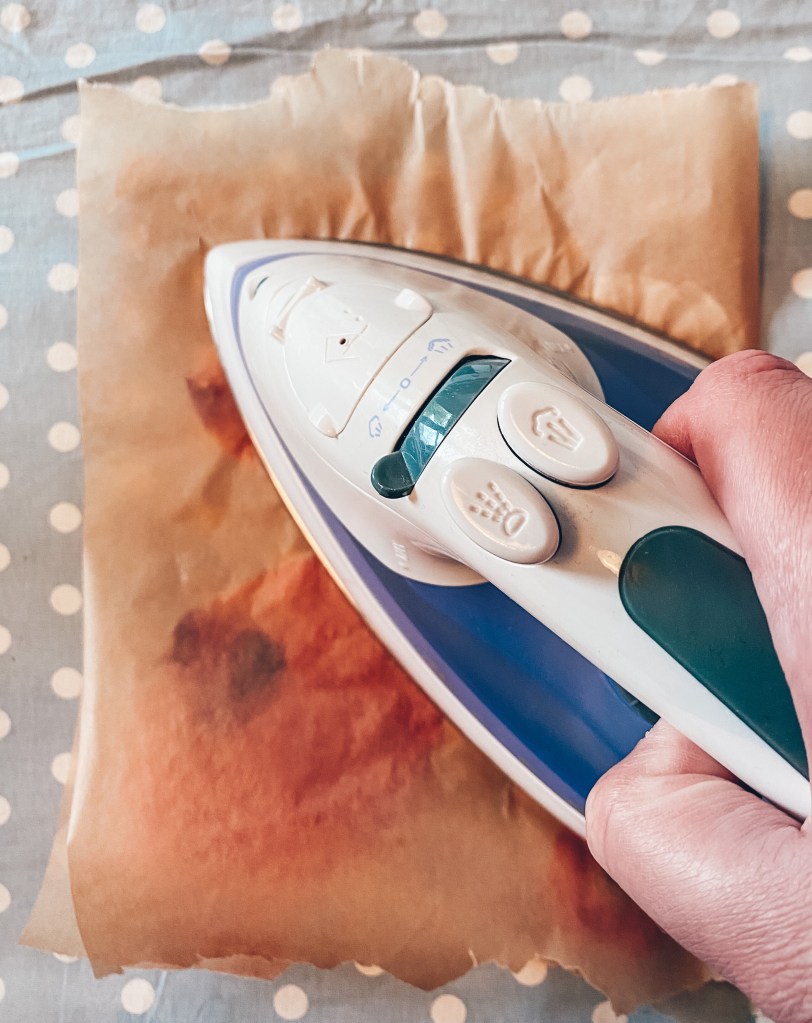
6. Once you iron is ready, take the book off the flowers and place your iron on top of the baking paper. Once placed down don’t move it, just leave in one place for 10 secs. Remove the iron and work across your flowers in 10 second bursts. You can always stop and check to see how they are getting on.
Now a word of warning, this isn’t going to smell great. Yes my lavender smelled nice for a few moments but I had a constant whiff of green and not in a good way. The smell goes as soon as you stop ironing.
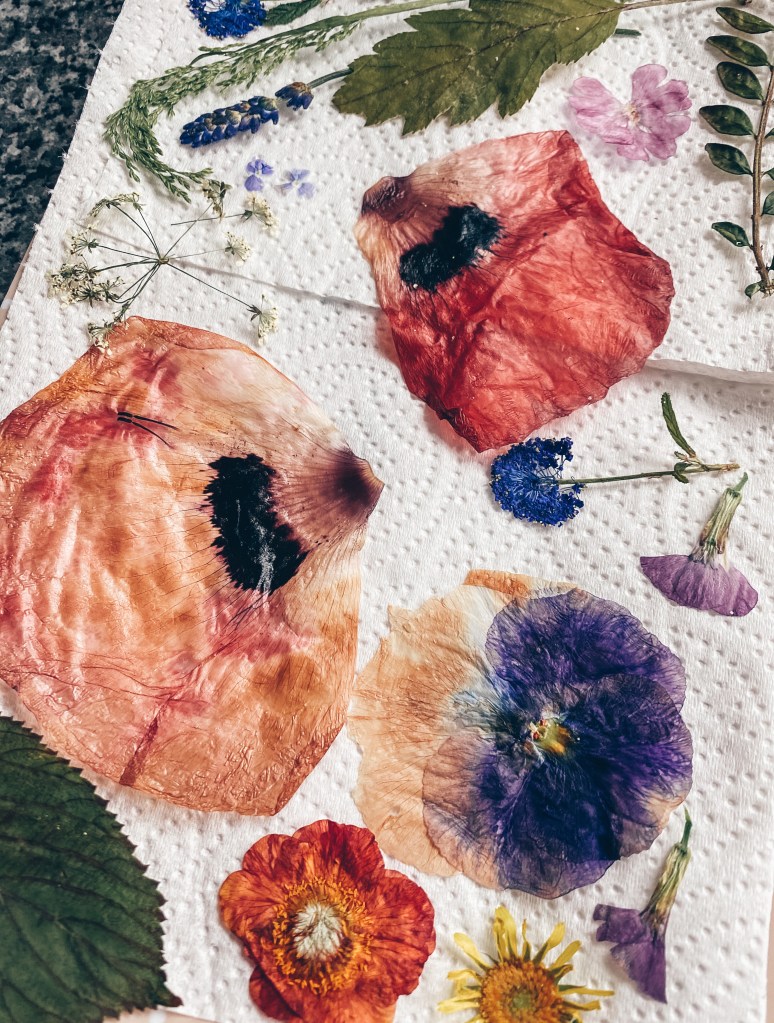
7. Once you are happy with the progress, leave the flowers to cool for a few minutes before transferring them somewhere. I put mine on some kitchen roll to allow them to dry out a bit more
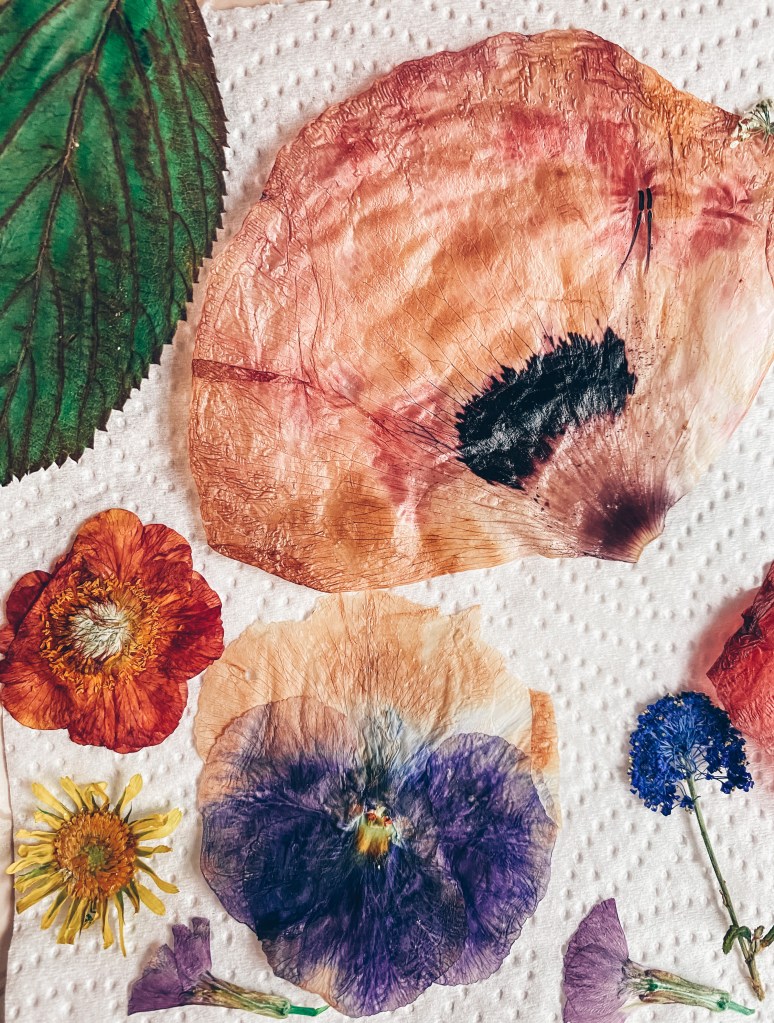
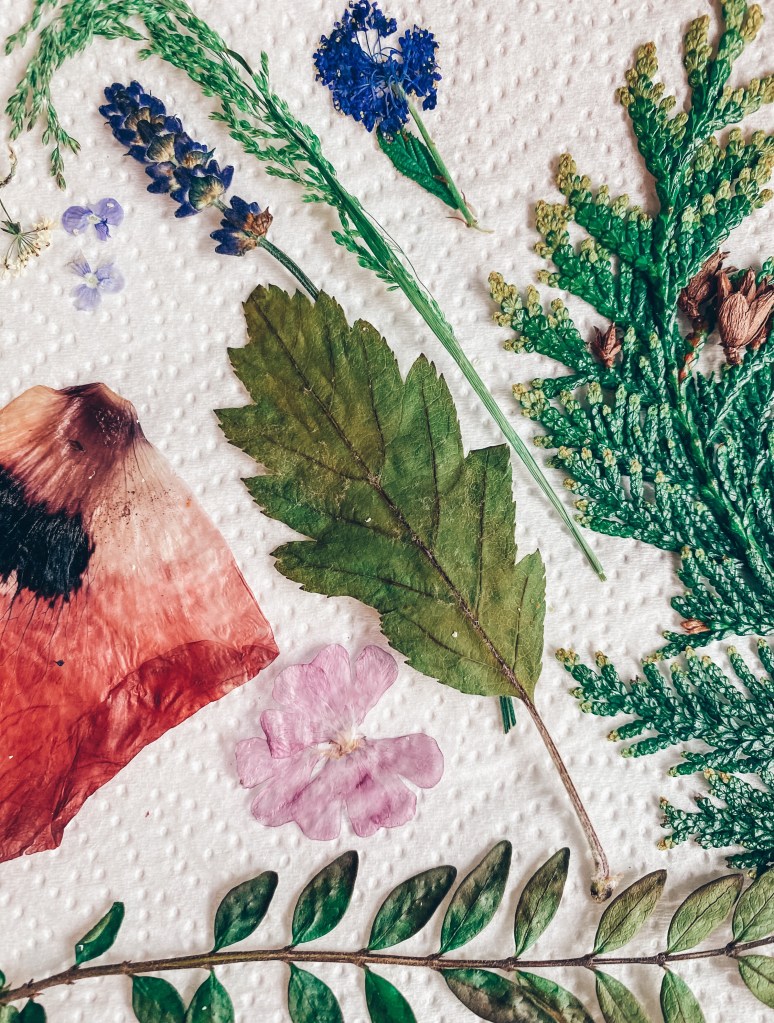
As stated earlier I experimented with different flowers and leaves to varying degrees of success. Unsurprisingly the flatter items worked best like my Pansy, leaves and Poppies. The grass I chose worked very well as it was quite dry anyway.
The flowers that didn’t work so well we ones which were quite small and delicate or more 3D flowers. The blue flower in the image above is called a Cyanthus. It didn’t really do too well and just looks squashed. The lavender also looks a bit squashed but held its form better. The more delicate flowers like the Speedwell and Greater Stitchwort almost disappeared.
Here are some other flowers I tried too, the results are also in the image above.
You will notice that some of the flowers above are wildflowers. Please read my Wildflower blog post to learn more about the do’s and dont’s of picking wildflowers.
Now what to do with them…..
Camilla x

One Comment Add yours