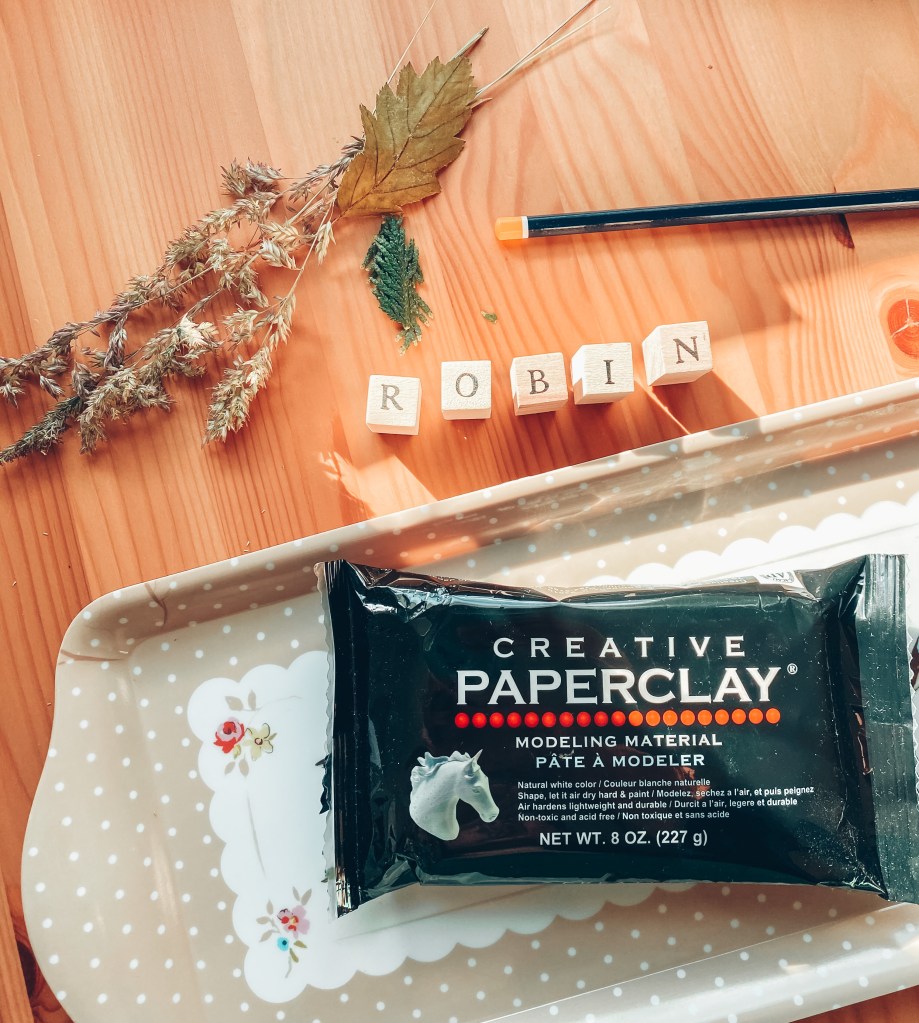
Day 21 of #30DaysWild was another crafty activity involving air drying clay and foliage.
This was something Robin and I tried last year, but sadly as the clay dried it cracked. This time I did a bit more research on materials and technique and I have to say I’m delighted with the results!
Although Robin had a go at doing one, I earmarked this activity to do by myself one evening. I was instantly drawn into it, I enjoyed it so much I used the whole block! For the first time in a long time I had found an activity which was helping me focus on things other than the stress of juggling working from home and childcare. It sucked me in and dare say relaxed me.
It is so simple to do too! I bought some Creative Paperclay air drying clay online, but you could make your own salt dough if you wanted to. A quick search on Pinterest will show you a number of creative and inspiring ideas.
What you need:
Creative Paperclay, equivalent or salt dough
A rolling pin or roller
Shape cutters, or you could use the top of a glass candle
Foliage – leaves, grasses, flowers
A pin or scalpel
A chopstick or pencil
Stamps for lettering
Small container of water
Method
1. Take some of the clay from the block and roll in your hands.
2. Use your rolling pin to flatten the clay out, don’t go too thin. Perhaps 2cm thick, or you can experiment and go thicker. Just remember this may take longer to dry. A good tip I read afterwards was to do it on baking paper so it is easier to remove your disc!
3. Use your cutter to cut out your shape and use a chopstick or pencil to make a hole near the top. This is only required if you want to hang up your disc. Just make sure you don’t make a hole too near the edge or it could break!
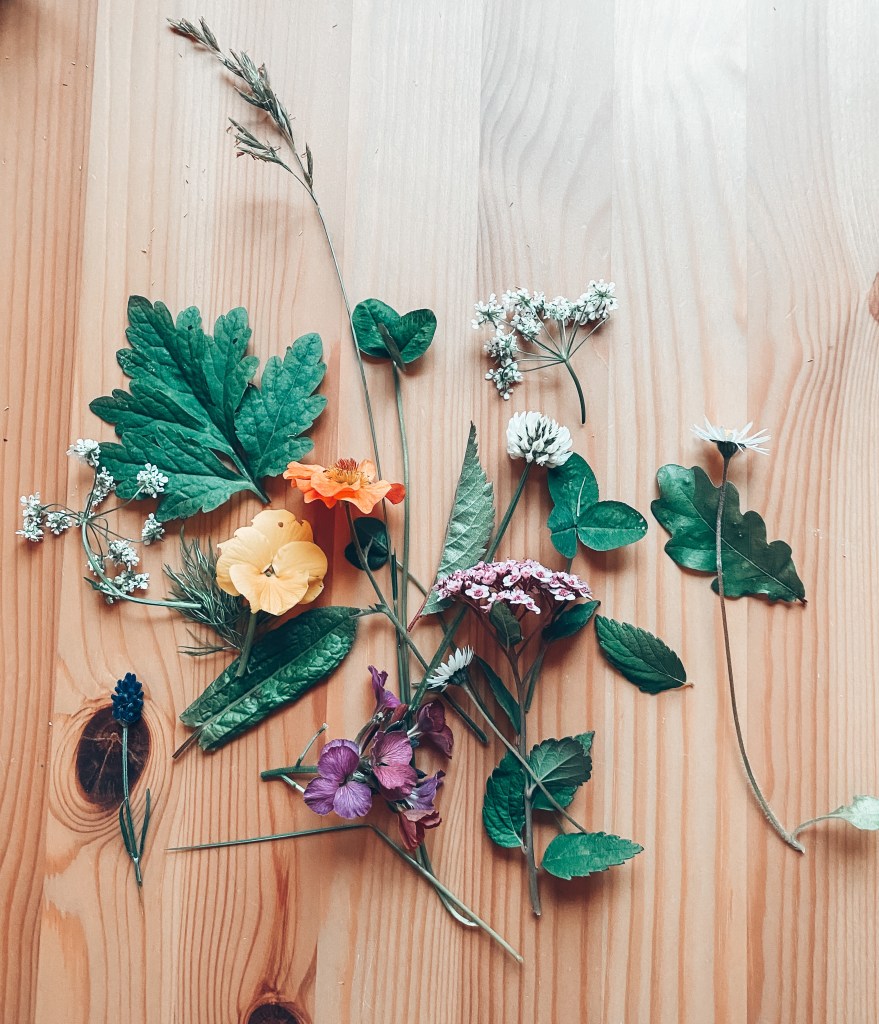
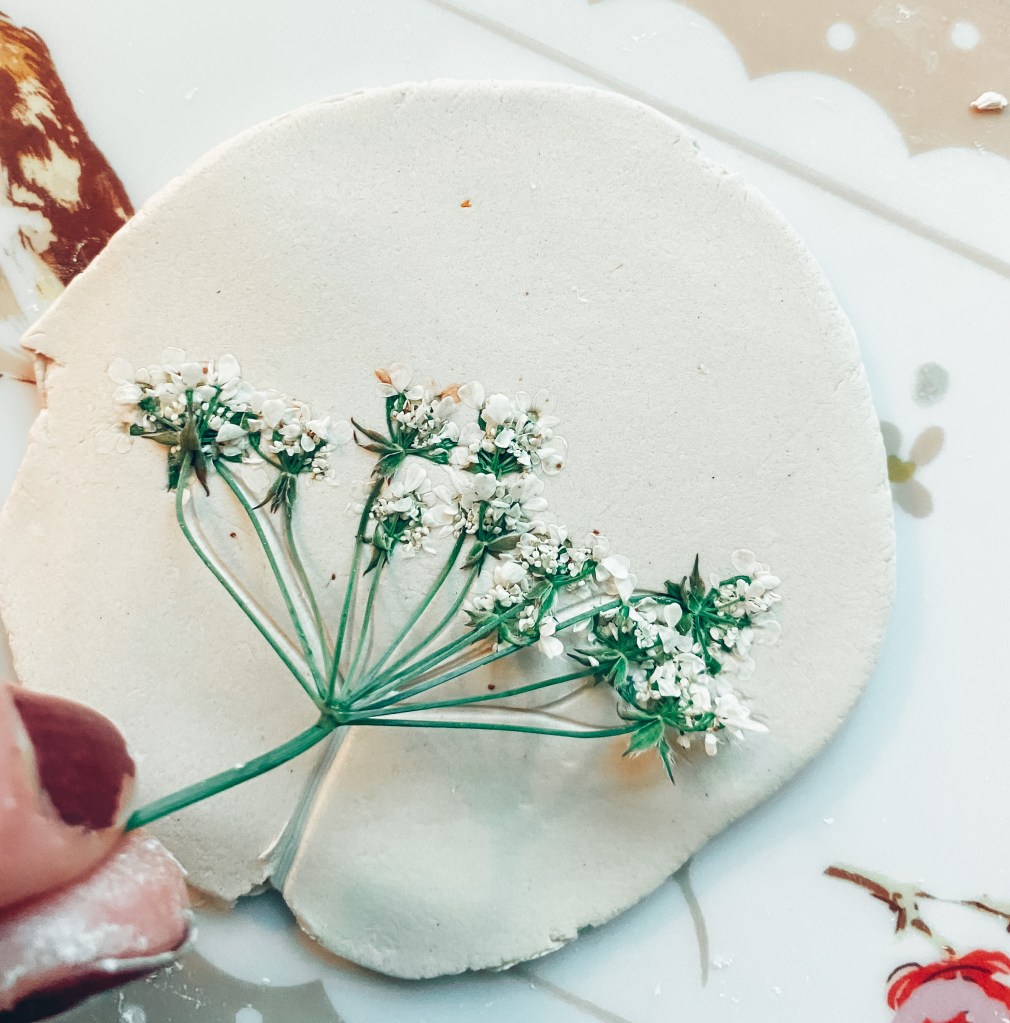
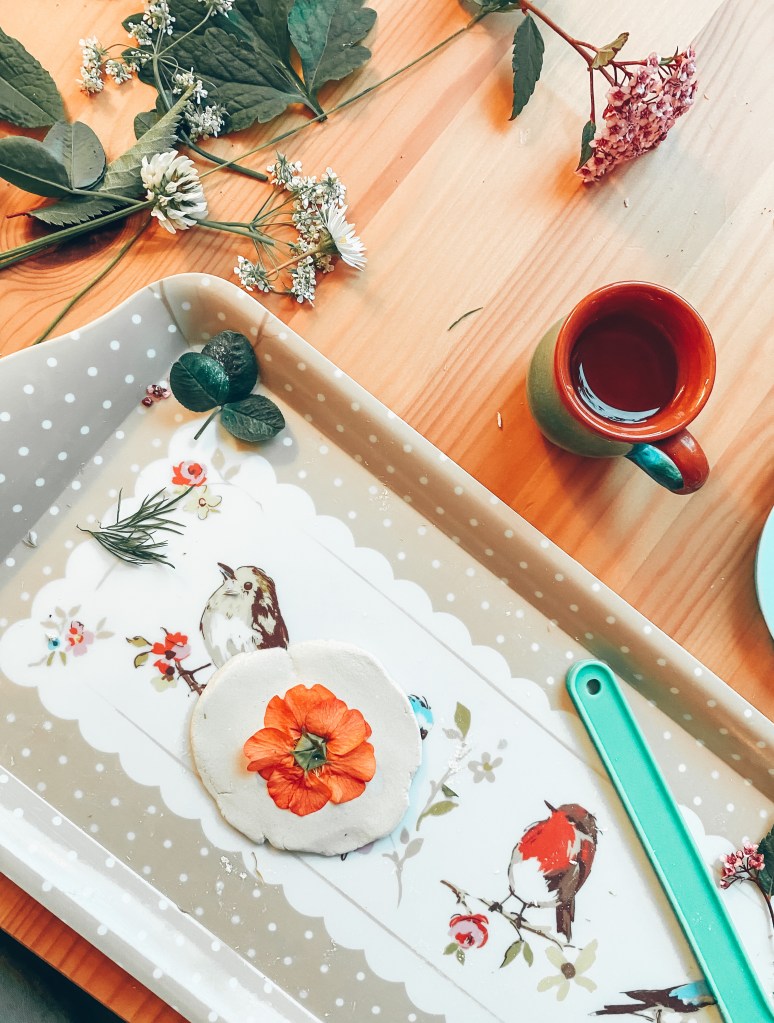
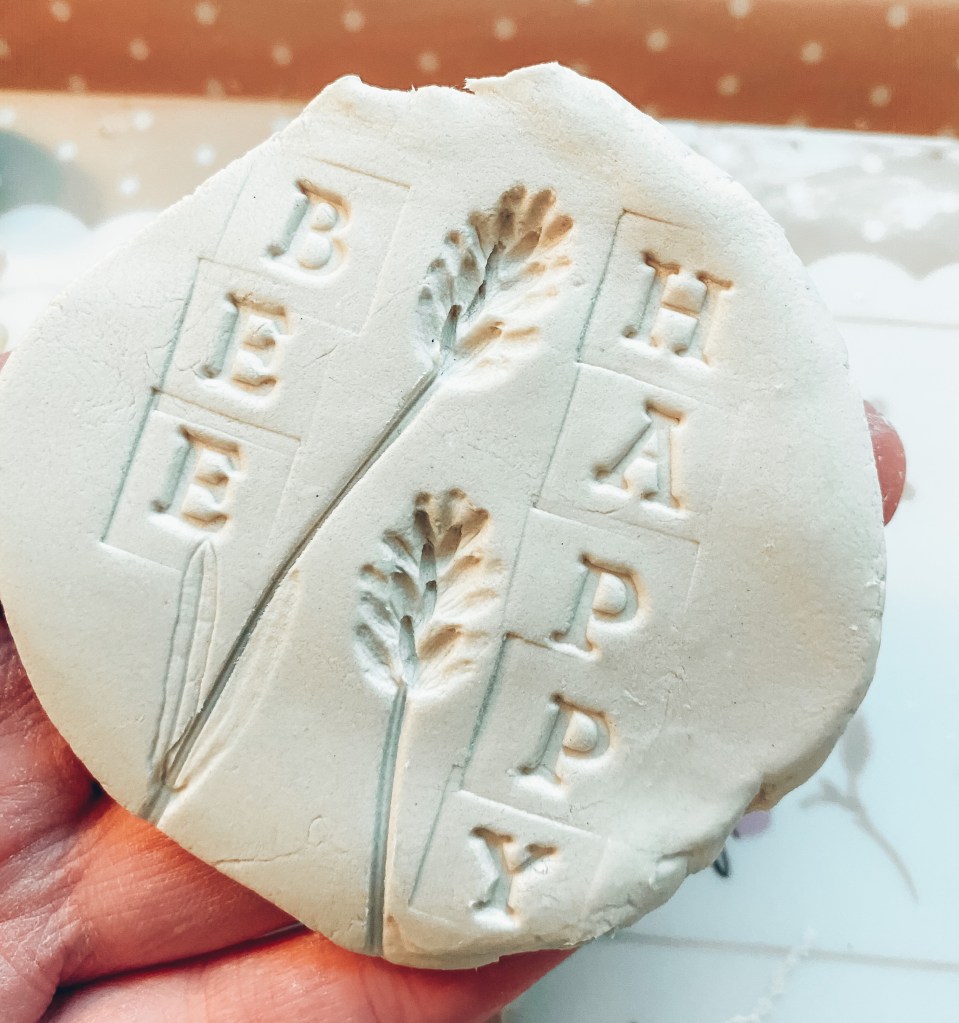
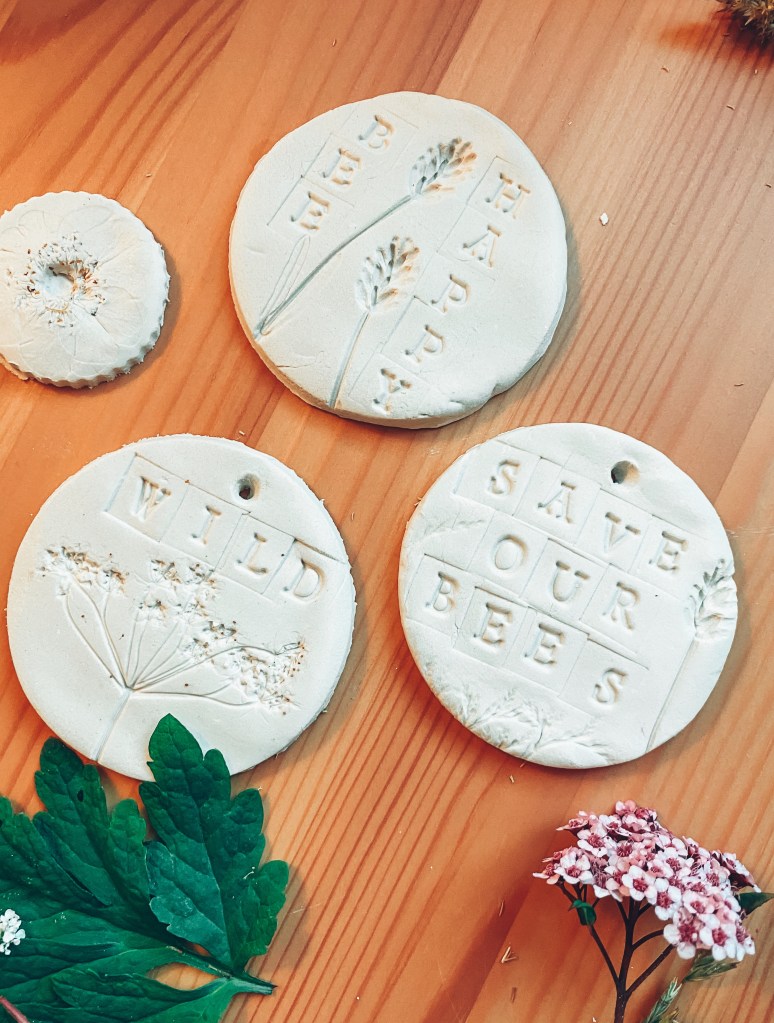
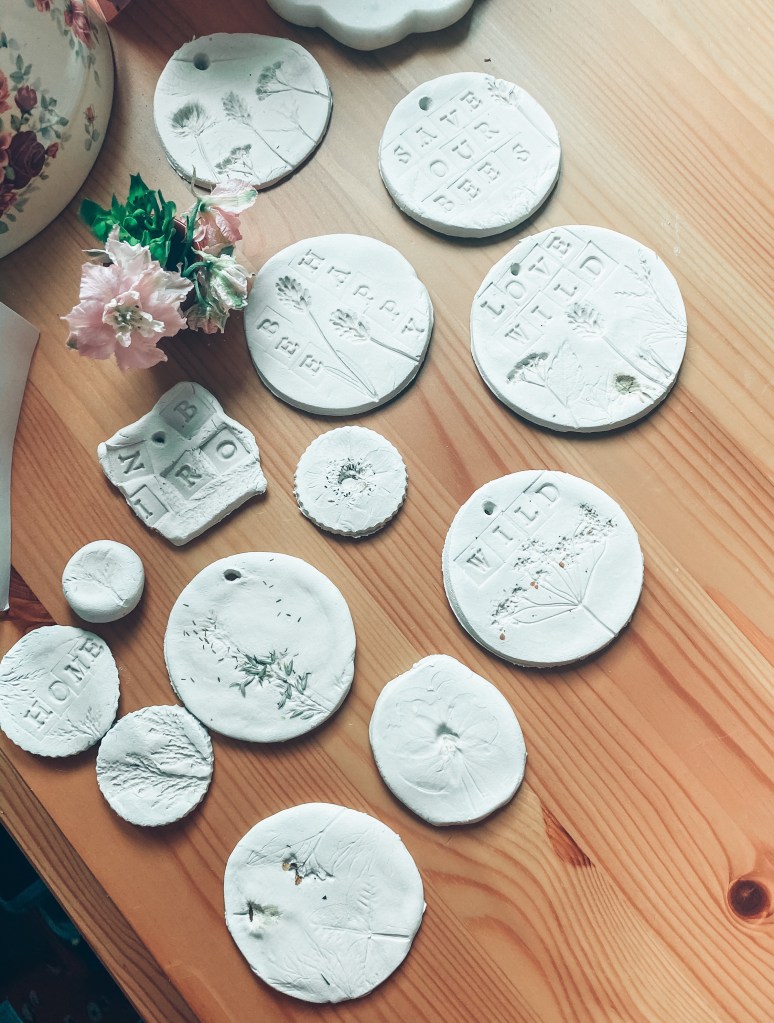
4. Get the foliage you collected and start placing into the clay. Experiment! You could even use other materials from around the house like buttons or lace. Once you are happy get your rolling pin or roller and gently flatten the foliage into the clay. This helps give a better imprint.
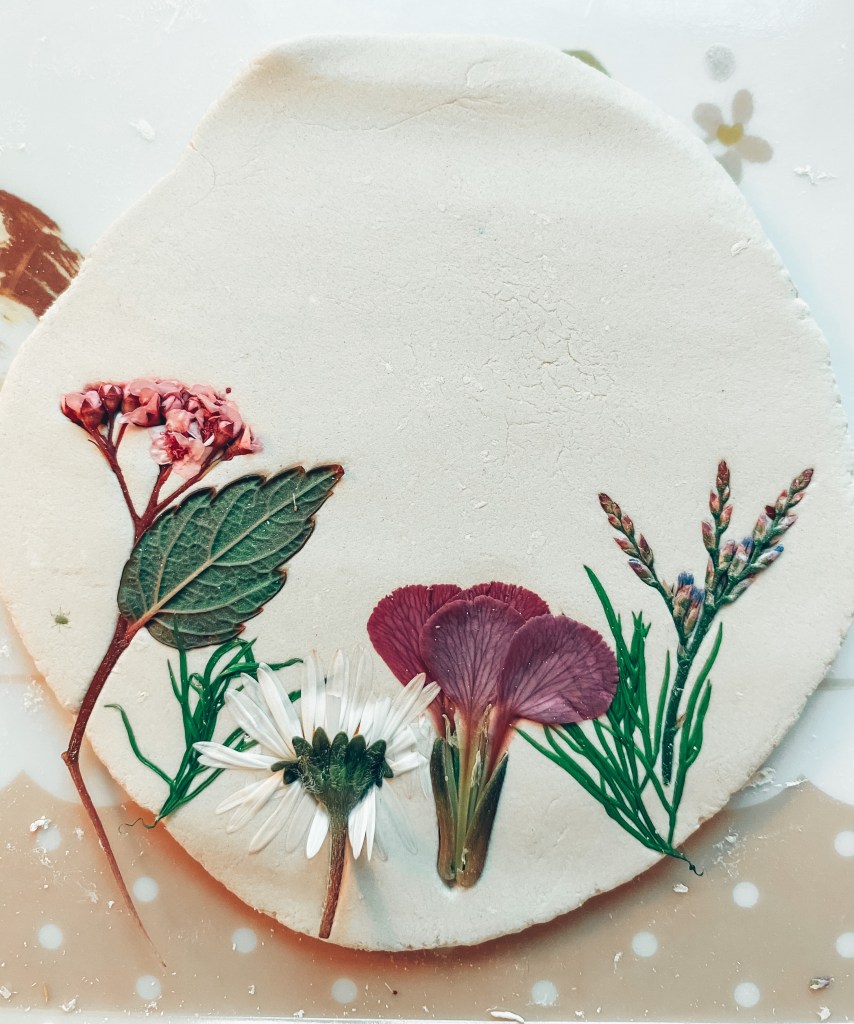
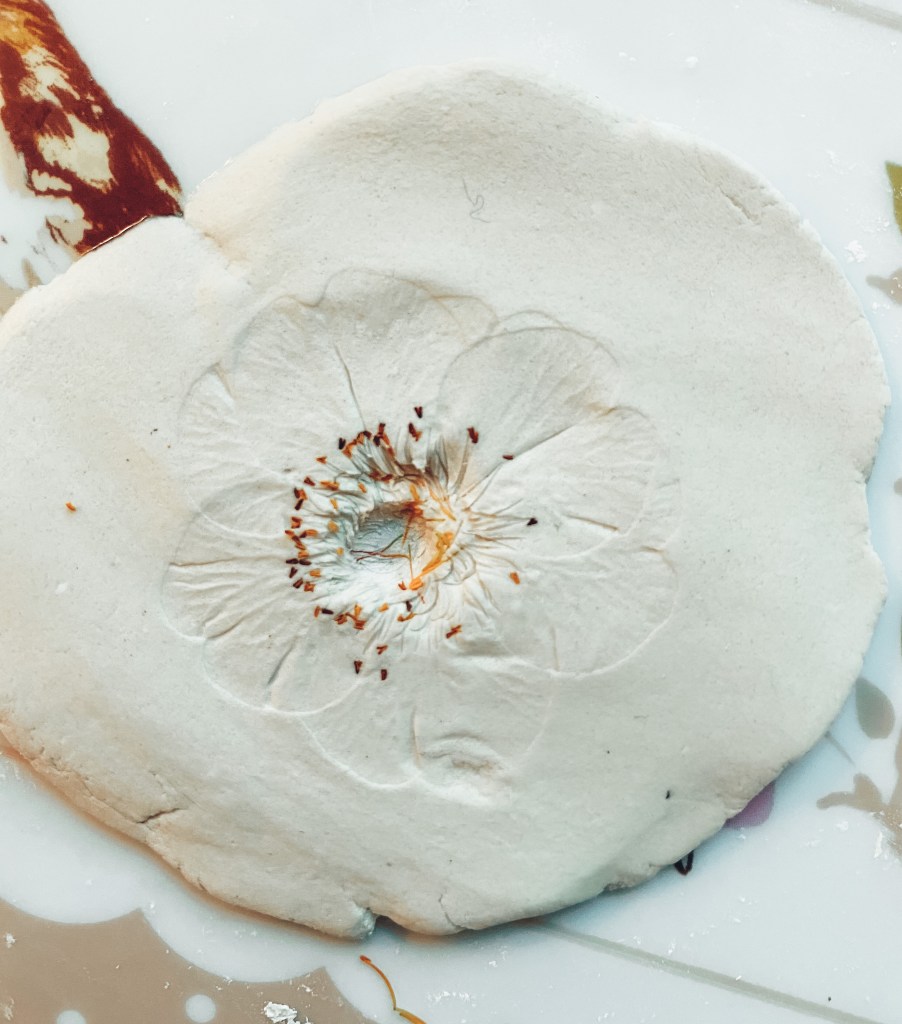
5. Depending on your foliage it may be easy or difficult to remove. Lavender was easy but getting all the tiny flowers from the Cow Parsley was more difficult. This is where your pin or scalpel comes in handy! Gently remove the foliage and all the petals. Or you could leave them in! Up to you. I’m going to try this next time.
6. If you want to use stamps to embellish your designs you can do some now.
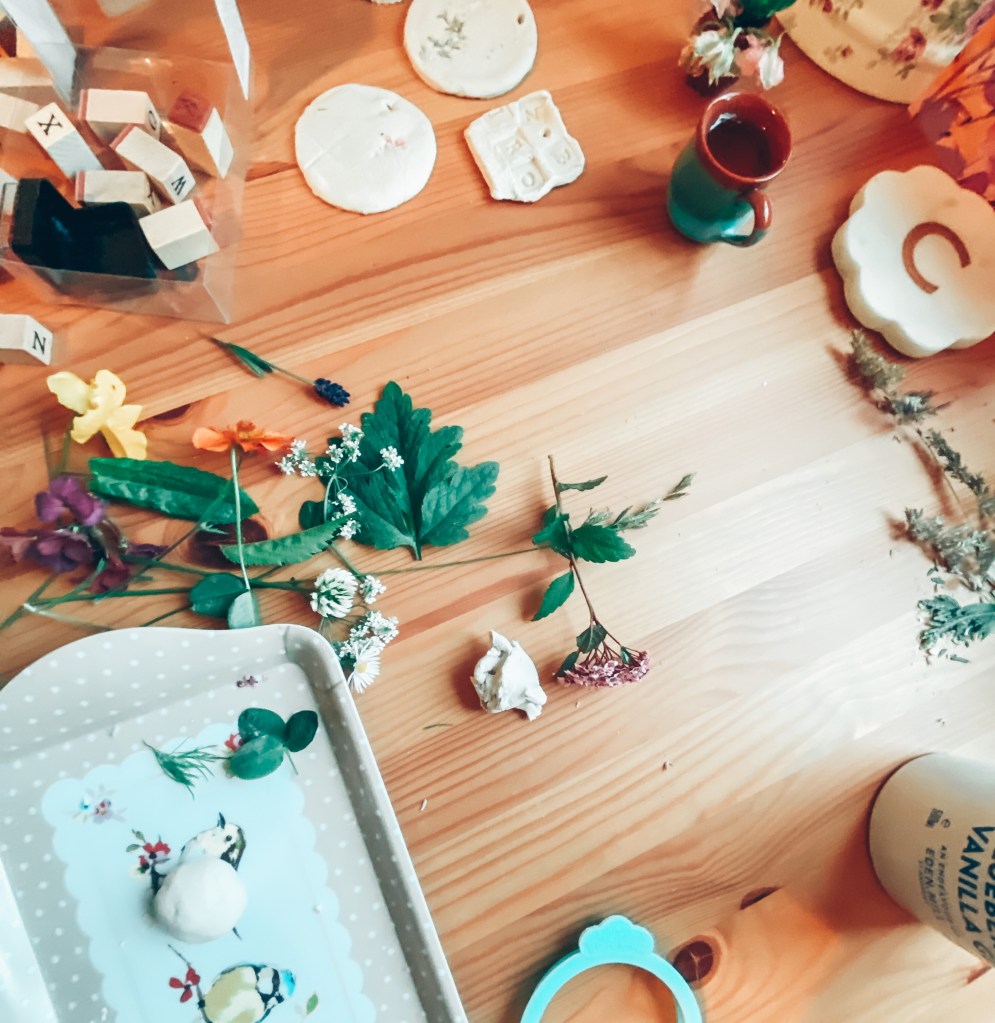
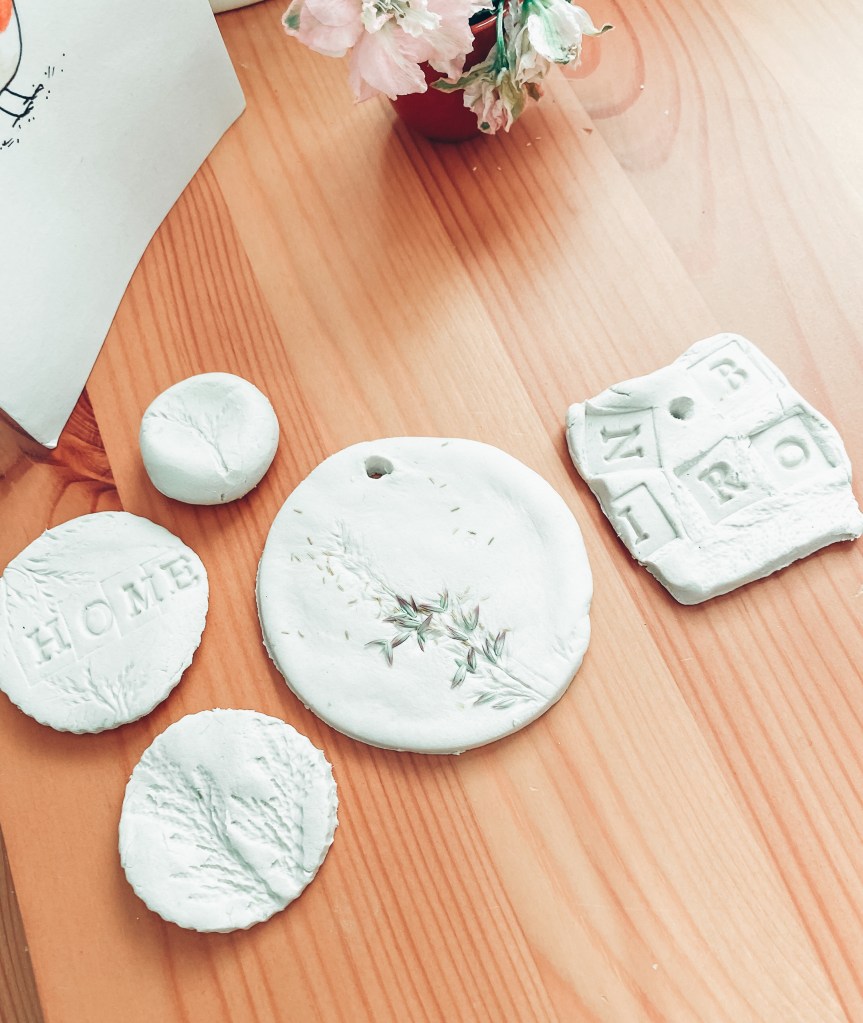
7. Leave to dry – this can take 1-3 days.
Here are some photos of how mine turned out:
Camilla x
